Customize Map Markers by Category
How to add different custom markers for different points on your map using categories
This is a multi step process but adding/changing the map markers is doable.
Here’s a quick summary of the steps:
Categorize current map markers
Upload your custom marker images
Copy uploaded custom marker’s filenames
Add the custom marker setting
Step 1. Categorize map markers
Open the marker’s blog setting (in the blog collection) and add a category. This category will be used to identify which custom marker(s) belong to which item(s) on the map.
So if you have 4 items and you want to have 4 different markers on each one, then add 4 different categories on each blog.
But if you want 4 markers on 12 items, then add the category corresponding to the marker you want on the blog items.
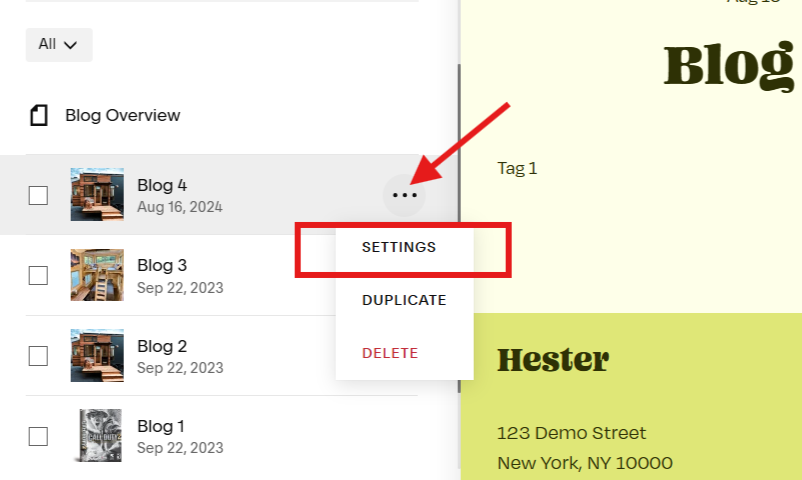
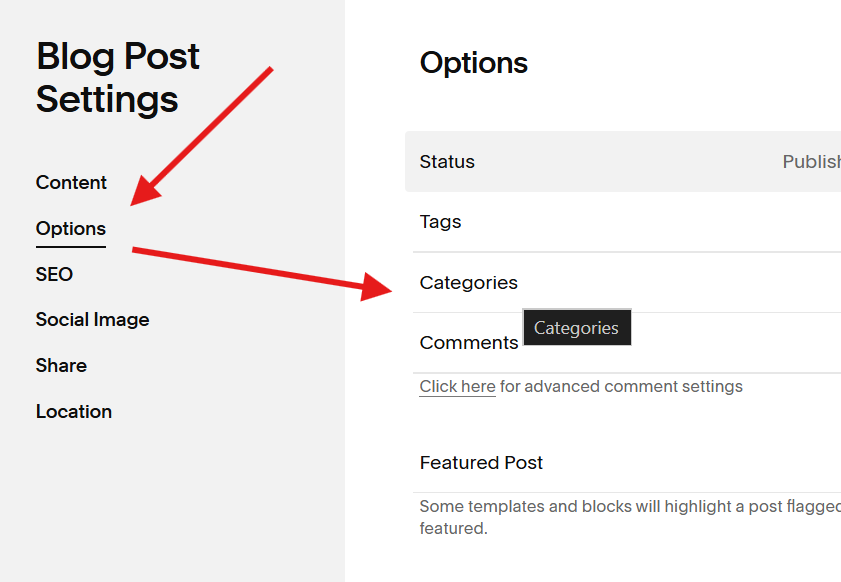
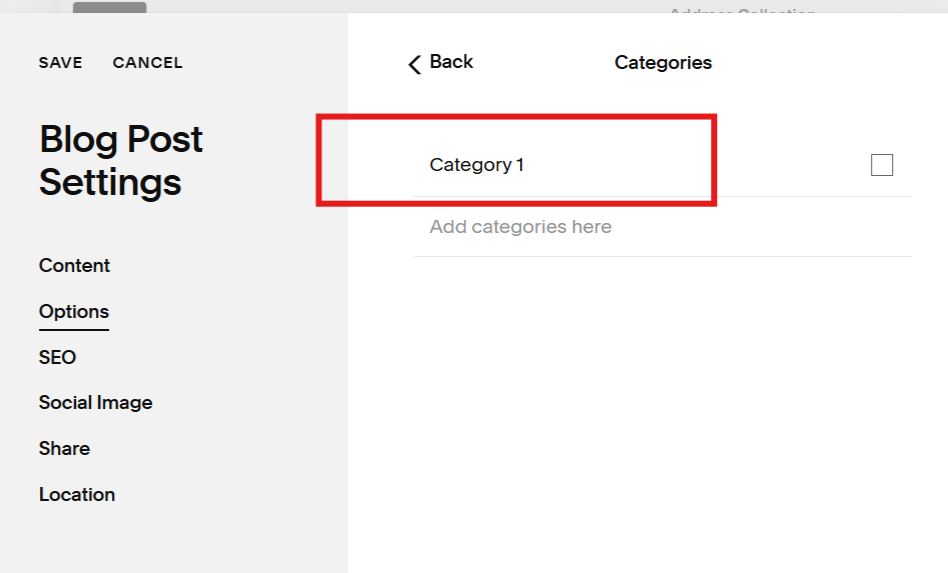
Step 2. Upload custom marker images
Upload the map marker/pin image you want to use to your Squarespace site. The map plugin will pull these images and use them as markers. Here’s a tutorial on how to upload your images.
Step 3. Copy custom marker filenames
Copy the filename(s) of the custom marker image, this is needed in the Custom Marker Setting of the Advance Map plugin.
The filename you need to copy is the one below the Link title e.g. /s/red-pin.png
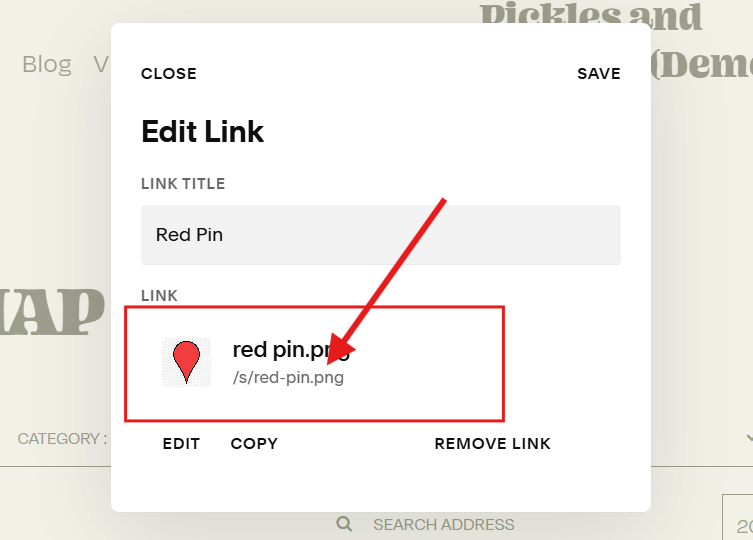
Step 4. Add custom marker settings
Open the Markers settings then click Marker (Pins) Icons settings.
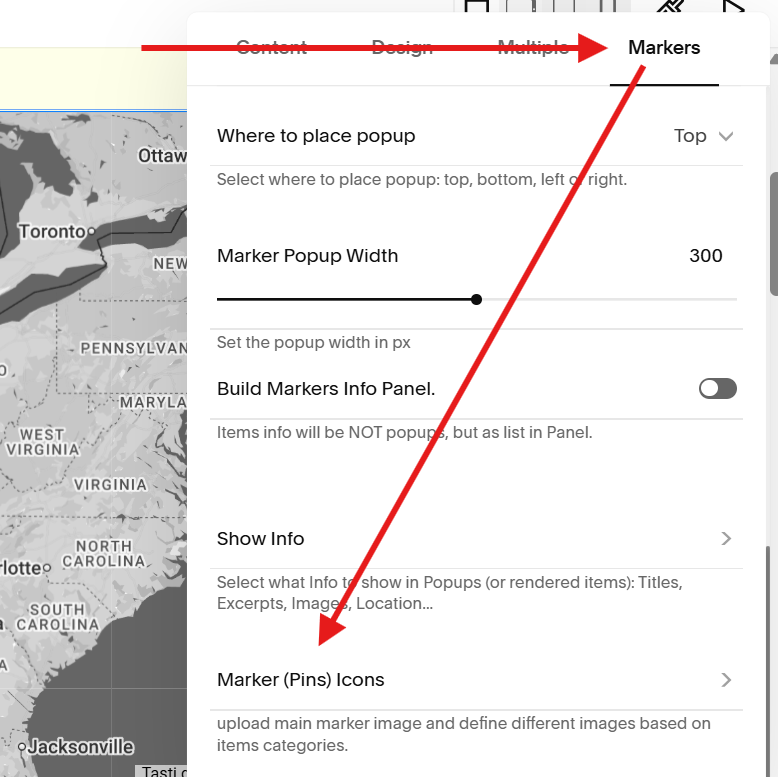
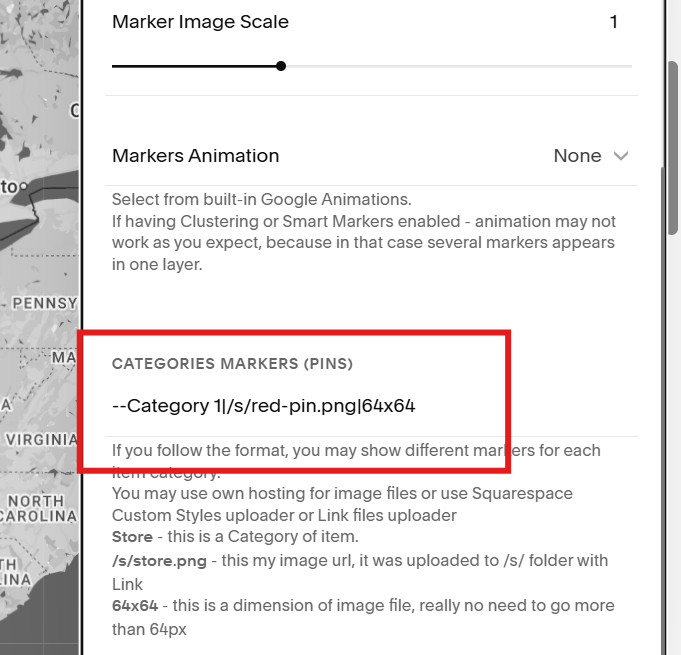
Then scroll down to Categories Markers (Pins) setting at the bottom and paste your filename and category for your custom markers following the required format:
--Category|/s/filename.png|64×64
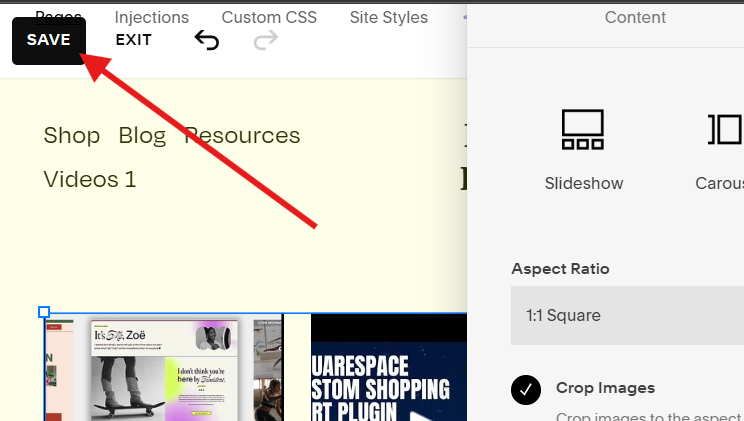
Click the SAVE button on the top left corner of the window to apply your custom markers settings.
I just want to change the image for all markers not have different markers
You can do that. Here’s the tutorial for changing/adding custom map markers.