Enable Table Block
How to use the Custom Table Block plugin through the Chrome Extension Tool Pro
You need a PRO subscription because this option is only available in the PRO version.
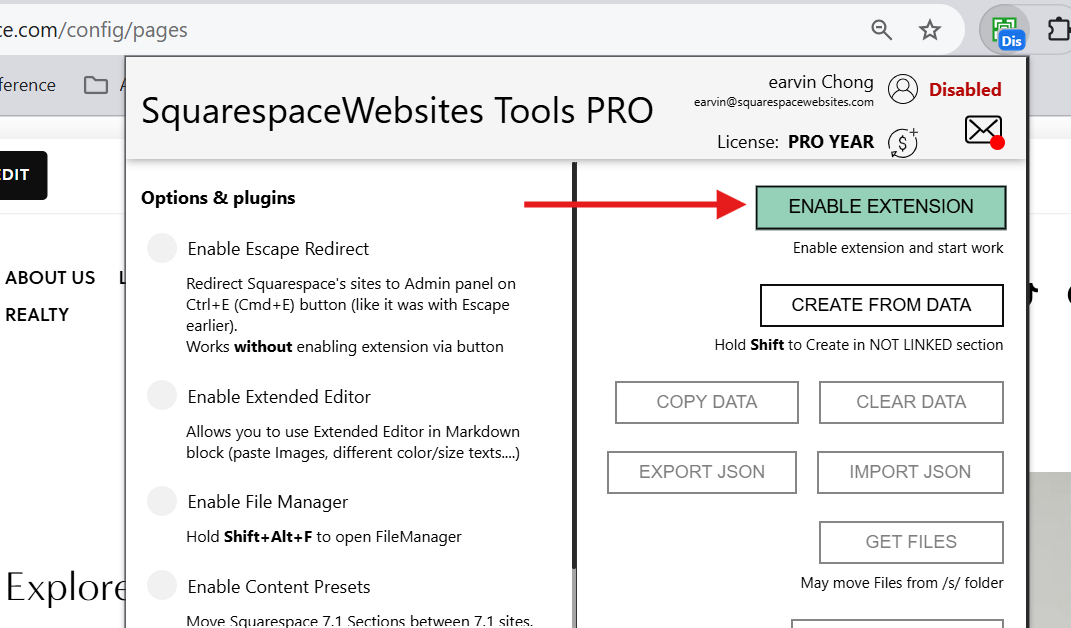
Step 1. Turn on the Extension Tool
Sign in and turn on the Extension Tool by clicking the ENABLE EXTENSION button.
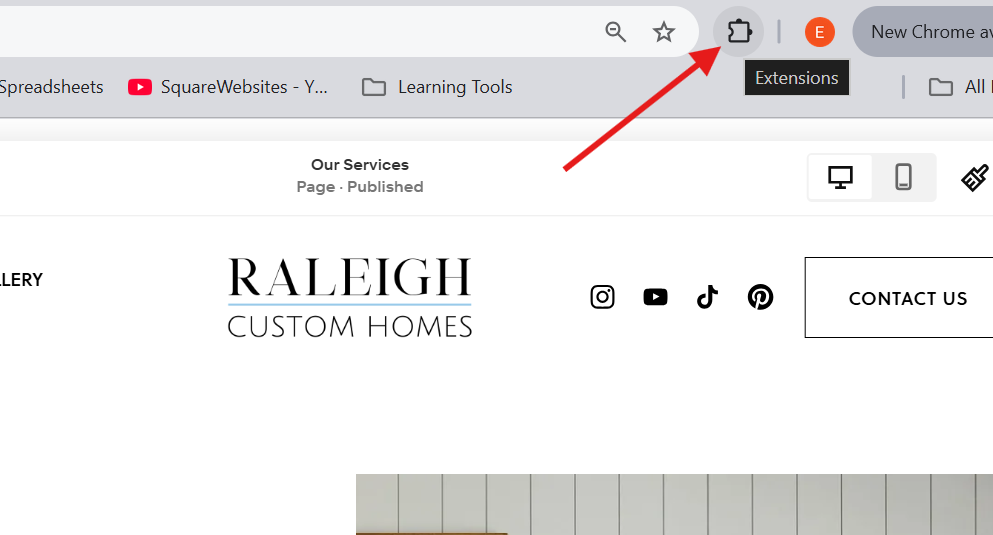
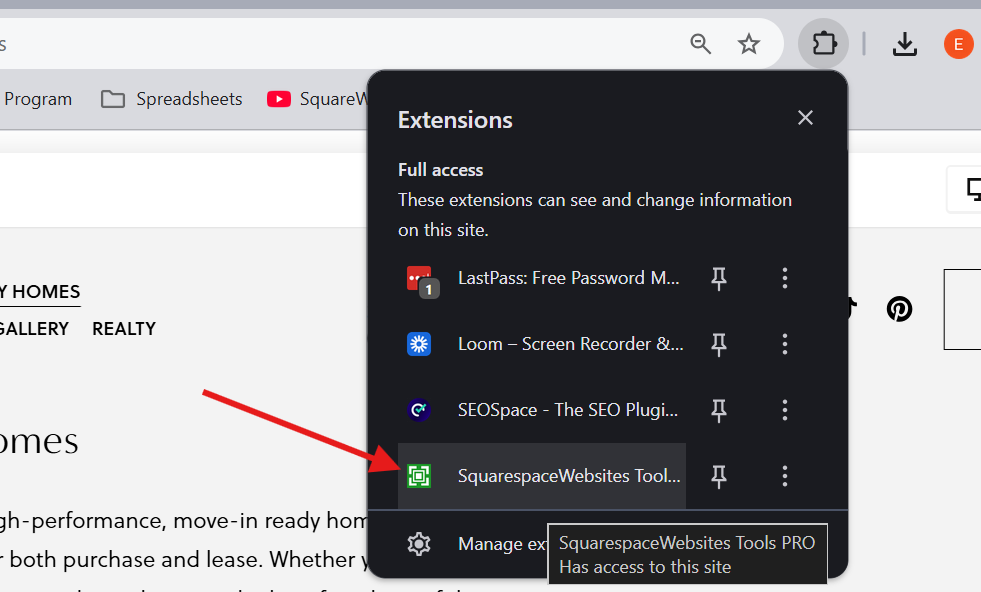
Step 2. Paste the required code
Copy the codes required and paste them in the Header and Footer accordingly.
Remember to SAVE your code before exiting Code Injection.
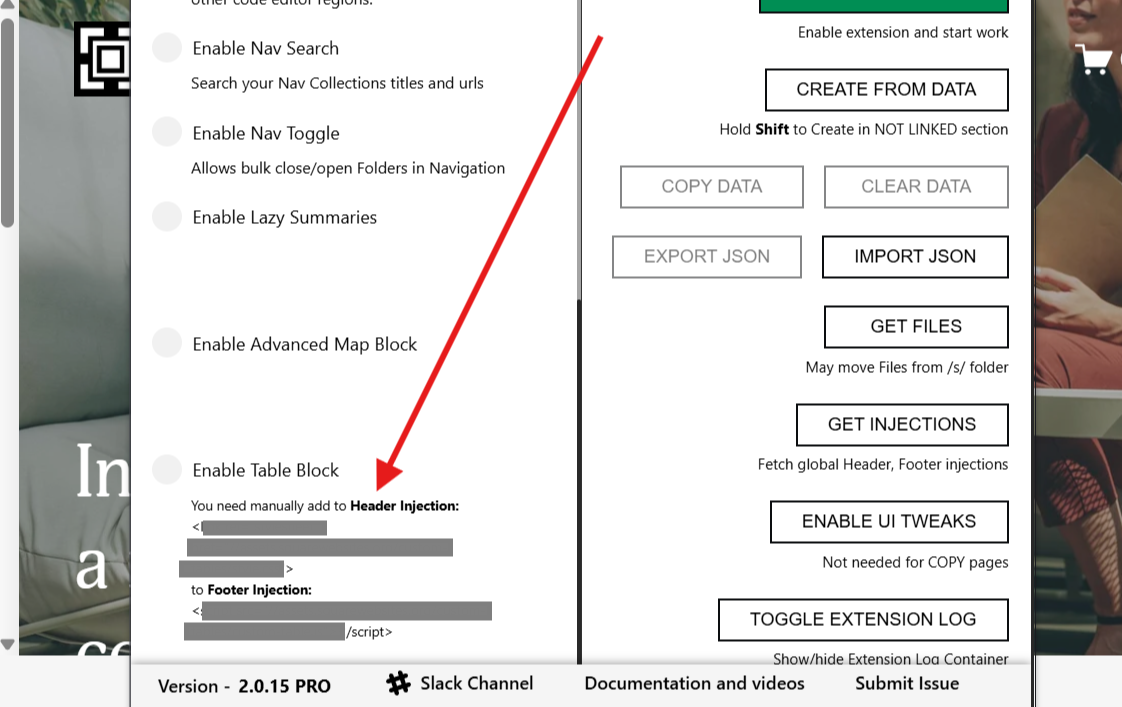
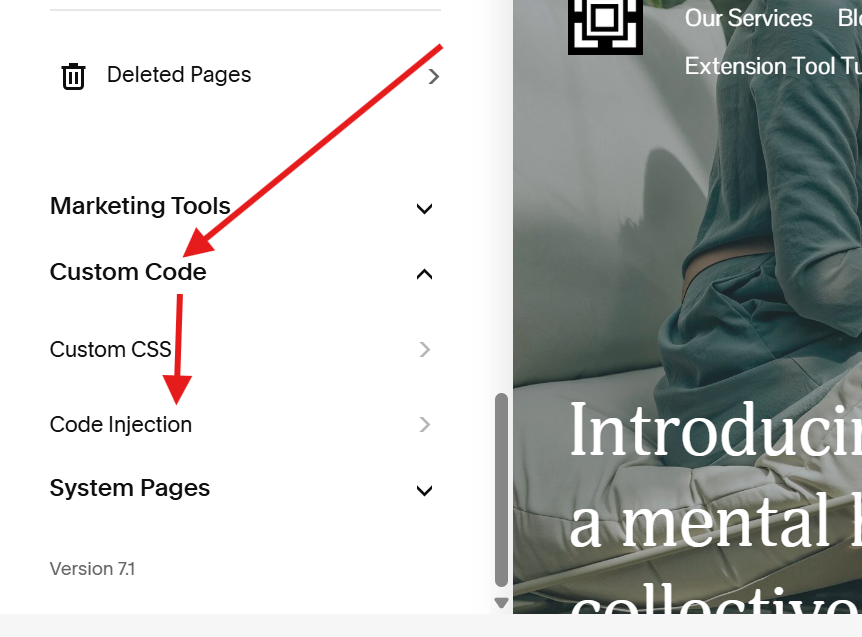
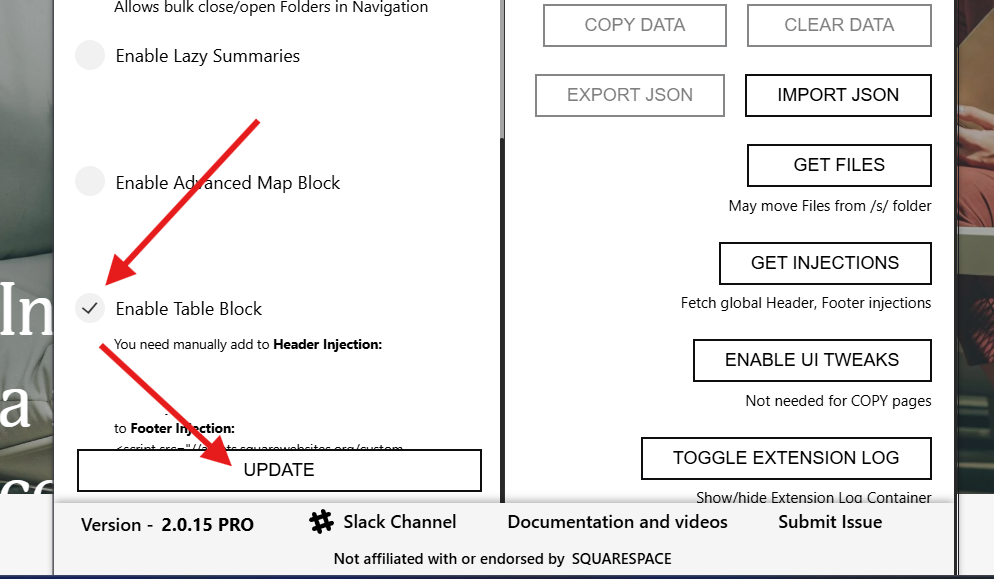
Step 3. Enable Table Block
Open the extension tool and click the rounded button next to Enable Table Block then click the UPDATE button.
This will reload your page to apply the table block plugin so make sure you save any progress or change you made on your page if you’re currently working on it.
Step 4. Check for Table Block
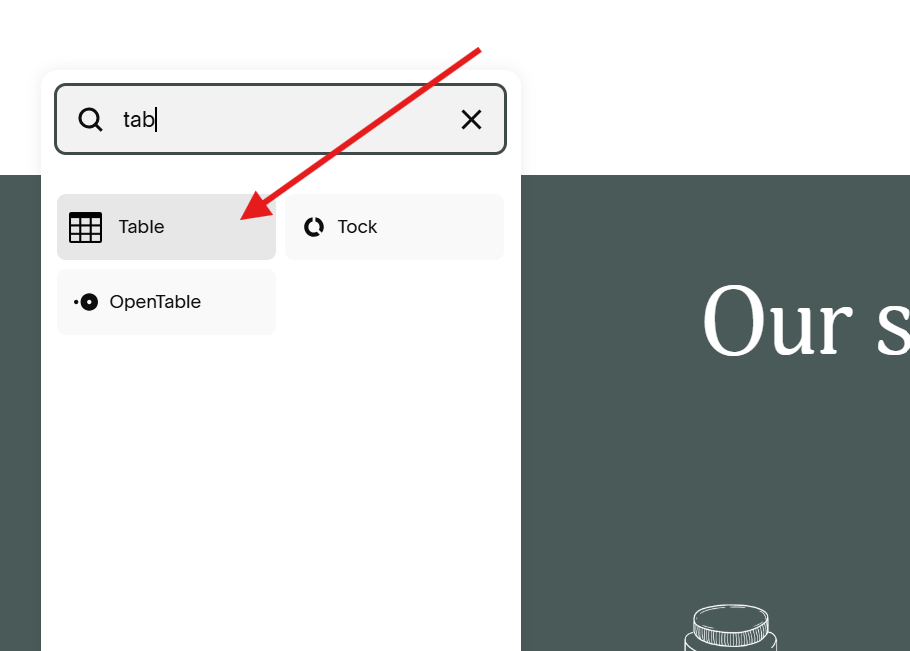
Open the Add Block menu and check if you see the Table block in the menu.
If you don’t see it on the list , try typing table on the search bar or add a new section using the Classic Editor.
IMPORTANT:
Make sure to enable the extension when you want to use the table block plugin or table block will be automatically disabled.
What’s Next?
If you want to learn how to add data to your table, click any of the links below:
Frequently Asked Questions
-
The Table Block plugin lets you conveniently add tables to your pages without coding. And lets you display Google sheet data or CSV file uploads.
-
No, you need the PRO subscription to use the table block plugin or just buy a regular Custom Table Block license.
-
Yes, this works on both versions of Squarespace.
-
The tables you add will still work when your subscription ends. They will NOT disappear. But you won’t be able to edit the table.
So let’s say you added a table on your client’s site and decided you don’t want to renew your subscription anymore.
The table will keep on working on their site they just won’t be able to edit it.